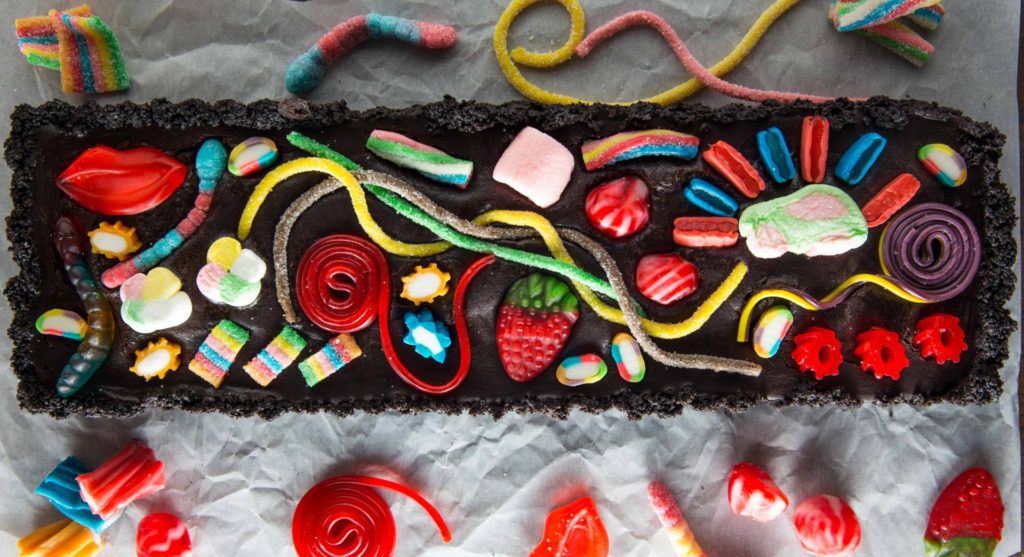
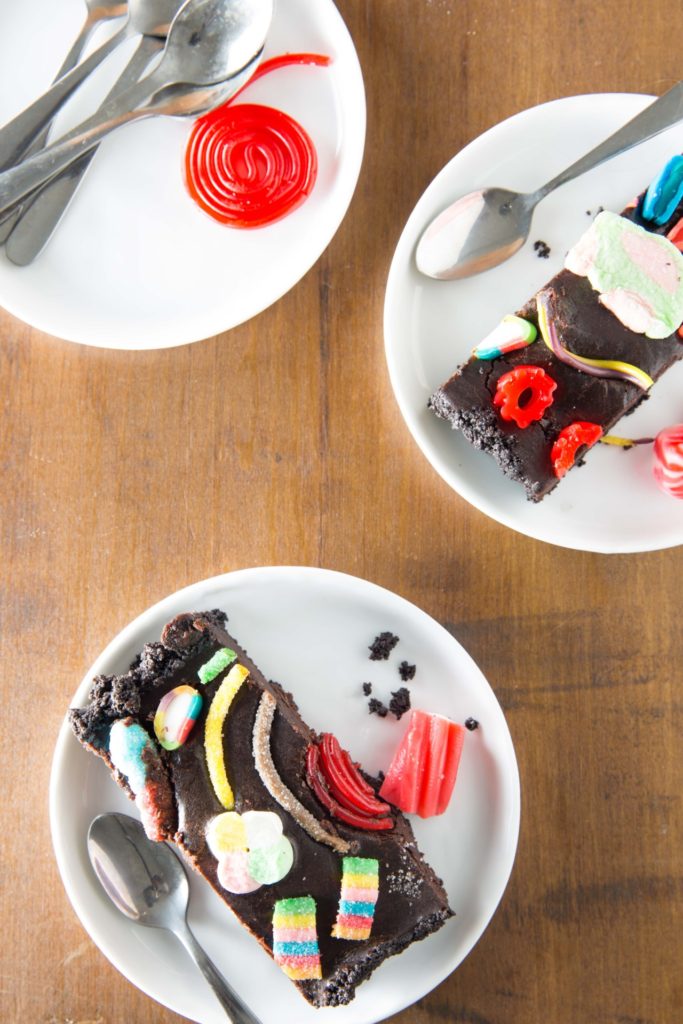
Please the kids AND the adults with this adorable, gorgeous, rich and delicious No-Bake Candy Fudge Tart!
This is a sponsored post written by me on behalf of Fini-Mimi; all opinions are my own. Thank you for supporting the brands that help make this blog possible.

Have a question about one of my recipes?
The best place to get answers is the Overtime Cook Recipes Facebook Group!
I have to tell you guys, I’m more excited about today’s post than usual. I mean, I love all of my recipes (or I wouldn’t share them with you!) but I love when a recipe presents beautifully, because everyone knows we eat with our eyes first. But this one? It’s not just beautiful. It’s adorable. It’s the kind of recipe that your children will beg for, and the adults will ask for seconds of. It’s the kind of recipe that you’ll have fun with, and your children will enjoy helping you with it as well.

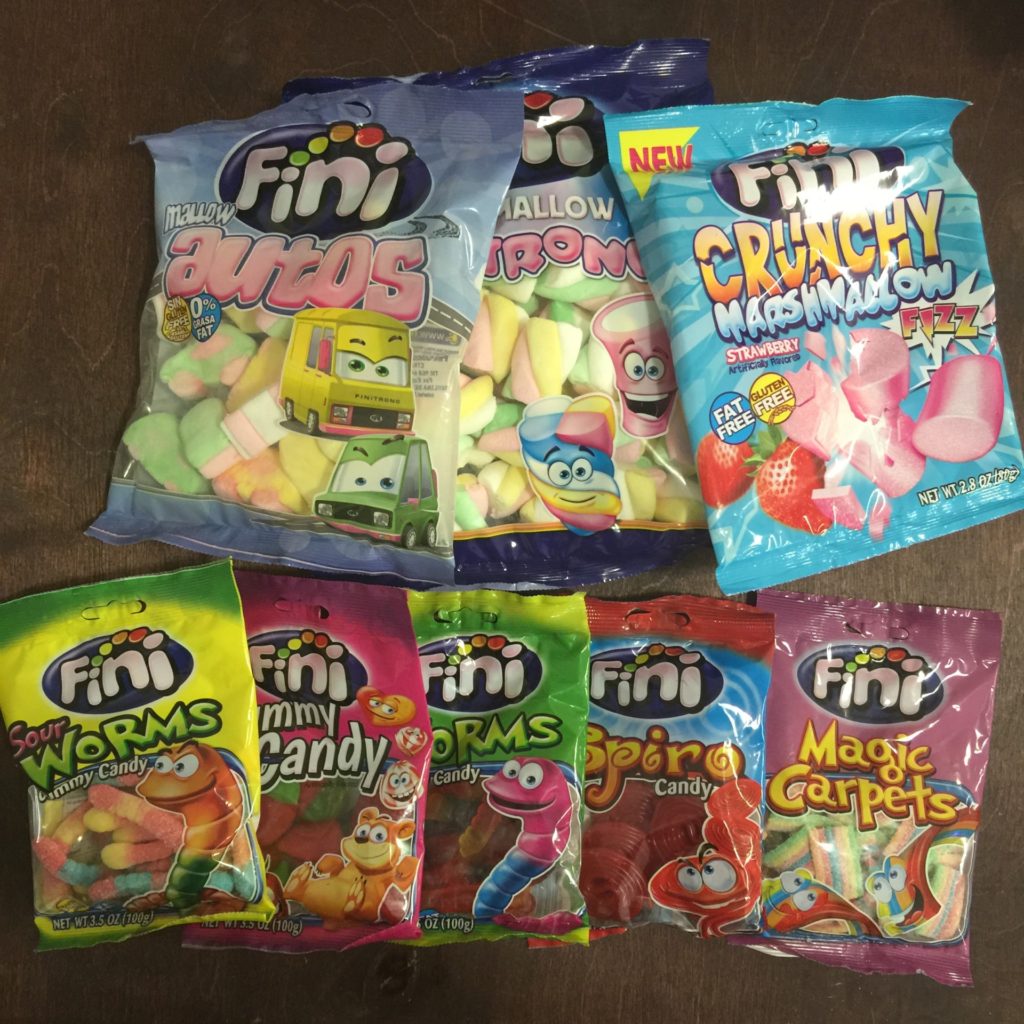
Let’s back up while I introduce you for a minute to this incredible new candy company, Fini Mimi. I first stumbled on their products in the grocery store about a year ago, bought a bag of their sour worms, and have been hooked ever since. Have you seen Fini-Mimi’s colorful displays in your local grocery store? Their assortment of eye catching and yummy candy is incredible. And while I like to eat it straight from the bag, today I’m taking things a step further by adding Fini-Mimi’s colorful treats to a delicious recipe.
And if I do say so myself, I’m so pleased with the results! Obviously, it looks really cute, and you and your children will have fun making all sorts of patterns and designs. But the amazing thing about this is how well the candy pairs with the rich fudgy center of the tart. Combined, it’s a perfect bite. I can’t wait to see the designs you guys come up with – so make sure to send me photos!
What are you waiting for? Pick up a couple of bags of your favorite Fini-Mimi candies and try this No-Bake Candy Fudge Tart out today!

Do you receive the Overtime Cook newsletter? It’s full of recipes, kitchen tips and deals and more!
Click here to signup.
- 1½ cups oreo cookie crumbs, finely ground (about 18 cookies)
- 3½ Tablespoons oil or melted butter/margarine *see note below
- 1 cup parve whip or heaving whipping cream
- 12 ounces semi-sweet chocolate, cut in chunks
- assorted Fini-Mimi candies, for topping
- Combine cookie crumbs and oil in a small bowl. Mix until all crumbs are damp from the oil.
- Press the mixture into a tart pan (for best results, use a pan with a removable bottom). Press down to firm up the crust.
- Place in freezer to firm up the crust while you make the filling.
- Place the whip in a small pot and cook over a medium flame until the edges start to boil, don't let it come to a boil.
- Turn off the flame and add the chocolate chunks, whisking constantly for a couple of minutes, until the chocolate is melted and the mixture is smooth.
- Pour the chocolate mixture over the prepared crust, and place in the fridge for about 10-15 minutes, until the chocolate has set enough that the candy won't immediately sink to the bottom, but still soft enough that it will stick.
- Once the chocolate has reached this point, press assorted fini-mimi candies into the chocolate, creating a pattern or design.
- Set aside to cool completely before serving. Store in the refrigerator until just before serving, as this tart is best served cold.
- To get your crust even, use a flat bottomed item such as a measuring cup to press the crumbs down and even out the crust.
- You can use oil or melted butter or margarine in this recipe. Note that the oil will cause the crust to be slightly more crumbly, whereas the butter or margarine will help the crust stay together.
- This tart freezes nicely, especially when made with butter or margarine (to hold the crust together best). For best results, freeze in tart pan so the shape doesn't get messed up.
Tools Needed in This Recipe:
Tart Pan (this is the one I used)
If you liked this recipe, you’ll also LOVE:
No Bake Chocolate Peanut Butter Cereal Bars
Candy Studded Chocolate Cookie Bars
—-
Like This Recipe? You will absolutely LOVE my cookbook!
It also makes a great gift! Click here to purchase Something
——-
Never miss a new recipe! Follow me for all the updates on:
Facebook| Instagram | Twitter | Pinterest
——-
Follow Fini Mimi for recipes, giveaway, ideas and specials!
Thanks guys for stopping by! Make sure to visit my Facebook tonight at 8:30 (eastern) for a LIVE DEMO to discuss sukkos recipes and menus! -Miriam

Disclosure: This post was sponsored by Fini Mimi. All opinions are my own. This post contains affiliate links, which means that a small percentage of every purchase made through that link goes to help support this blog.

Your pie filling mixture is almost exactly what I use to make truffles. Just add a teaspoon of any preferred flavor extract to the melted chocolate mixture, mix well, chill until as firm as clay. Roll 1 inch diameter balls and coat them with a choice of unsweetened cocoa, toasted coconut, powdered sugar, desiccated coconut, crushed nuts you prefer, jimmies, etc. Place each truffle in a small paper cup, store in fridge in a covered container until shortly before serving.